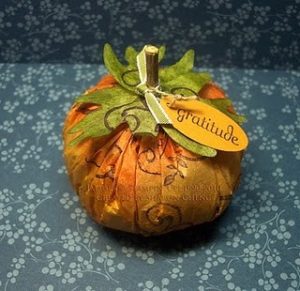
Coffee Filter Pumpkin
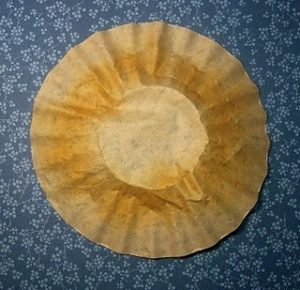
I used a brown coffee filter for this project. You can make a pumpkin with brighter colours if you use a white coffee filter.
The coffee filters used in this projects are about 8" in diameter. They are the 8-12 cup size that you find in grocery stores. To make larger pumpkins, you can use the larger commercial coffee filters. You may be able to find them in restaurant supply stores. I use Stampin'Up! products, so their names are here, but i have also put a rough colour translation there for you.
Supplies:
Stamp Sets: Fabulous Phrases, Baroque Motifs (I use any swirly stamp set when doing with a group, we all have different ones - use what you like).
Classic Ink Pads: More Mustard (a deep yellow), Tangerine Tango (softer orange), Old Olive (olive green), Elegant Eggplant (Eggplant/Aubergine colour - rich purple).
Card Stock: More Mustard (one that matches your yellow ink)
Punches: Small Oval, 1/6" hole punch.
Big Shot and Leaves #2 Die (or any die cutting system and a leaf framlit to make it easy.
Ribbon: Old Olive 1/8" Taffeta (matches your green, or go with any of the colours you used)
Linen Thread
Multipurpose Liquid Glue
Mini Glue Dots
Small Twig
Coffee Filters: One brown (unbleached) and one white.
Polyester Fiberfill
Needle and Thread
Washer (I used one that is slightly smaller than 1" in diameter.
Instructions
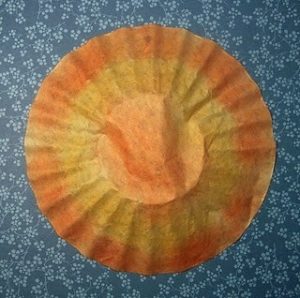
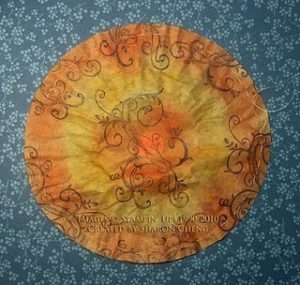
Step 1. Sponge More Mustard on the coffee filter.
Step 2. Sponge Tangerine Tango on the coffee filter.
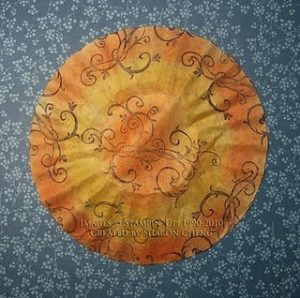
Step 3. With Elegant Eggplant, stamp Baroque Motifs on the coffee filter.
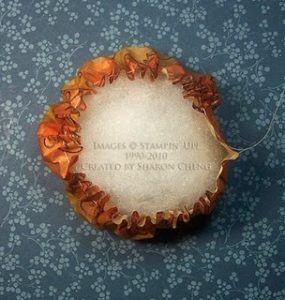
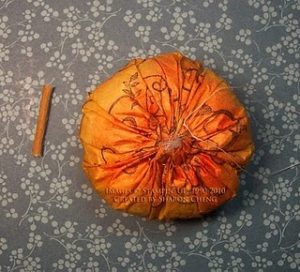
Step 4. Using a needle and thread, baste around the edge of the filter. I used stitches that were about 1/4" long and basted a little more than 1/4" away from the edge.
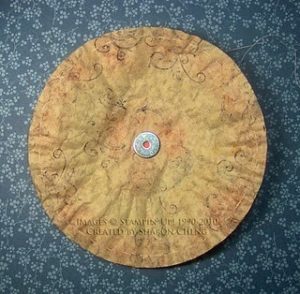
Step 5. Glue a small washer in the center of the inside of the filter. The weight of the washer will help keep your pumpkin from rolling around. I glued a piece of coordinating card stock between the washer and the coffee filter since the filter is so thin.
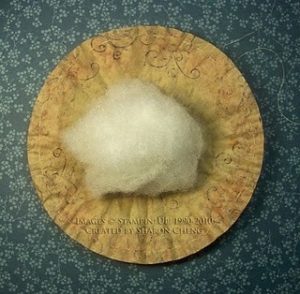
Step 6a. Put a piece of polyester fiberfill in the center of your pumpkin.
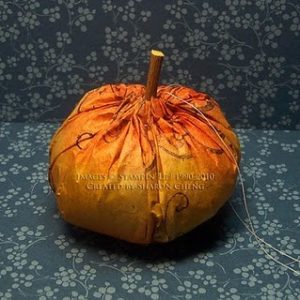
Step 6b. Pull the basting thread to gather the pumpkin around the fiberfill. Adjust the gathers while you are tightening the thread so that it gathers up evenly. Add or remove fiberfill to fit your pumpkin.
Step 7. Tie off the basting thread. You can see the twig on the side that will use in the next step.
Step 8. Glue the twig into the center of the pumpkin.
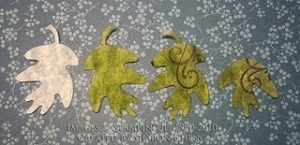
Step 9. I took the smaller white coffee filter, and sponged it green, then stamped the swirls on it, folded it in half and put it through the Die cut machine which gave me 4 leaves using your Big Shot and the Leaves #2 Die.
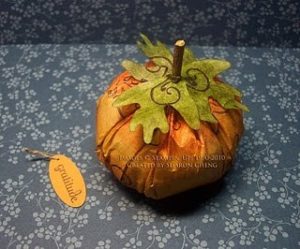
Step 10 and 11. Glue the leaves to the twig. I used Stampin'Up!'s multipurpose liquid glue. Stamp a greeting, I have done Gratitude on a piece of More Mustard Card Stock and punch with the small oval. Use the 1/16" hole punch and add a piece of linen thread.
Step 12. Tie a piece of thin ribbon on the twig while also adding the tag. I used a mini glue dot to hold the ribbon onto the twig.